Bath bombs are a fun and easy DIY project that turns your bath into a relaxing, fizzy experience. Making them at home allows you to customize scents, colours, and ingredients. This step-by-step guide will show you how to create your own bath bombs with a foolproof recipe and helpful images.
In a large mixing bowl, combine baking soda, citric acid, epsom salt, cream of tartar and mica. Use a whisk to evenly mix them together.
👉 Why? Baking soda and citric acid create the fizzing reaction, while Epsom salt soothes the skin, and cream of tartar helps harden and hold everything together.

In a small bowl, combine coconut oil, essential oil, water (or witch hazel). Stir well to blend the ingredients.

Slowly add the wet mixture to the dry ingredients a little at a time, whisking constantly to prevent fizzing. Continue mixing until the texture resembles damp sand and holds together when squeezed.

Pack the mixture tightly into your bath bomb moulds, pressing firmly. If using two halves of a mould, overfill slightly before pressing them together. Let them sit for a few minutes before gently removing from the mould.

Place the moulded bath bombs on a tray or parchment paper and let them dry for 24 hours. They will harden as they dry.

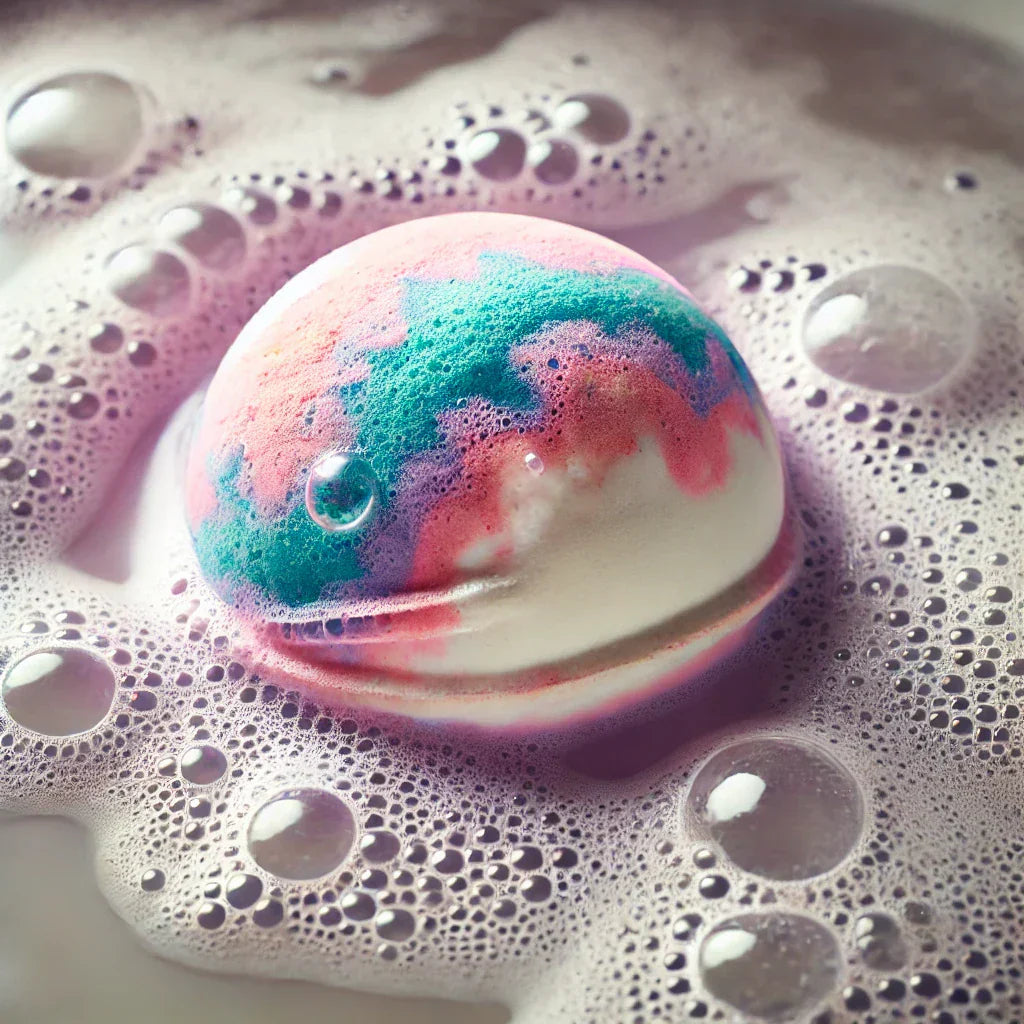
Once fully dried, store your bath bombs in an airtight container. Drop one into your bath, watch it fizz, and enjoy a relaxing soak!

Making bath bombs at home is a fun and rewarding project. You can customise them with different essential oils, colours, and even dried flowers for a spa-like experience. Try experimenting with scents and colours to create unique bath bombs for yourself or as gifts!
Related Products: