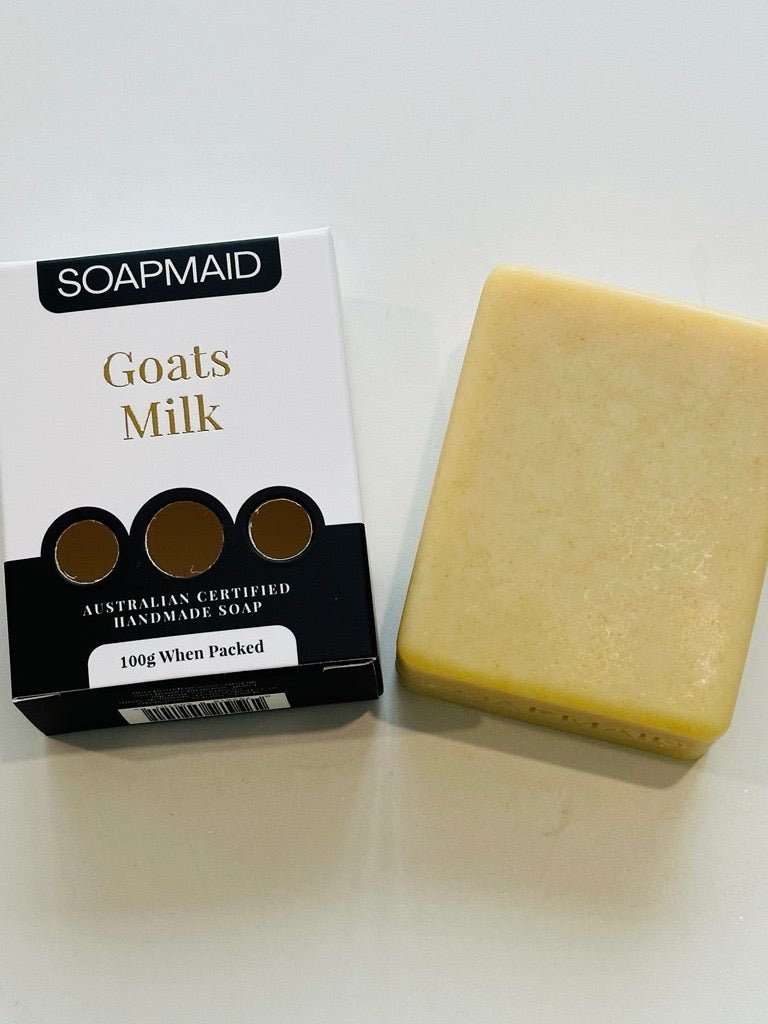


There's an undeniable allure to handmade soaps, especially those enriched with the goodness of fresh goat's milk. Renowned for its nourishing properties, goat's milk has been a cherished ingredient in skincare for centuries. If you're captivated by the idea of creating your own artisanal soap, let's explore the enriching process of making handmade goat's milk soap from scratch.
Why Goat's Milk for Soap Making?
Goat's milk is a treasure trove of vitamins, minerals, and moisturizing fatty acids that benefit the skin. It's naturally rich in lactic acid, renowned for gently exfoliating the skin and leaving it feeling soft and supple. Incorporating fresh goat's milk into handmade soap elevates its skincare benefits, offering a luxurious and gentle cleansing experience.
Crafting Homemade Goat's Milk Soap:
Ingredients:
Instructions:
Prepare Your Workspace: Safety first! Wear gloves and eye protection when working with lye. Ensure your workspace is well-ventilated.
Measure Ingredients: Weigh out your oils and melt them together in a heat-safe container. Allow the mixture to cool to around 100°F (37°C).
Prepare the Goat's Milk: Carefully measure your fresh goat's milk and freeze it into ice cubes. Slowly add lye to the frozen milk cubes while stirring gently to prevent scorching. This process may cause the milk to change colour temporarily.
Combine Oils and Lye-Milk Mixture: Once both mixtures are around the same temperature (around 100°F), slowly pour the lye-milk solution into the melted oils while stirring continuously.
Mix and Blend: Use a stick blender to mix the ingredients until you reach trace, a stage where the soap mixture thickens and emulsifies.
Add Fragrance (Optional): If desired, add a few drops of essential oils for fragrance. Popular choices include lavender, citrus blends, or tea tree oil.
Pour and Mould: Pour the soap batter into moulds of your choice. Silicone moulds work well for this purpose. Tap the moulds gently on the countertop to release air bubbles.
Insulate and Cure: Cover the moulds with a towel or blanket to insulate them. Allow the soap to cure for 4-6 weeks in a cool, dry place. This curing time allows the soap to harden and pH levels to stabilise.
Unmould and Enjoy: Once cured, gently unmold your handmade goat's milk soap. Allow it to further air dry for a few days before using for a luxurious bathing experience.
Benefits of Handmade Goat's Milk Soap:
Final Thoughts:
Creating handmade goat's milk soap is not just a craft; it's a journey into the realm of skincare artistry. Indulge in the process, experiment with scents and shapes, and enjoy the rewarding feeling of using a soap you've crafted with care.
Elevate your self-care routine with the pure elegance of handmade goat's milk soap. Let this artisanal creation be a testament to the beauty of natural ingredients and the joy of crafting something truly special for your skin.
