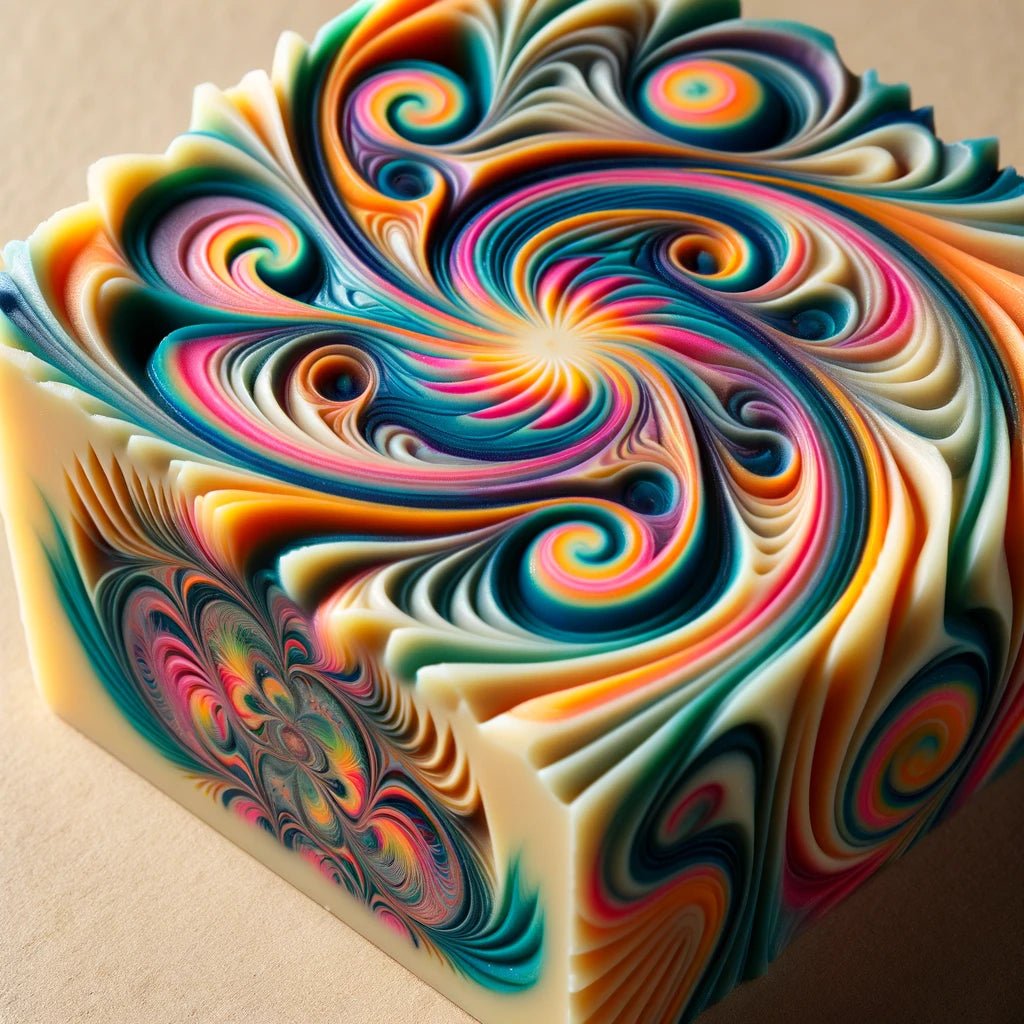
Artistry in Motion: Creating Swirls with a Kaleidoscope Tool in Handmade Soap Crafting
Handmade soap crafting is an art form that invites creativity and innovation, allowing artisans to infuse their creations with unique designs and patterns. Among the many techniques available, using a kaleidoscope tool to achieve mesmerizing swirls in soap stands out as a captivating and visually stunning method. Let's delve into the enchanting world of soap-making and explore how the kaleidoscope tool adds an element of magic to handmade soap creations.
Understanding the Kaleidoscope Tool:
A kaleidoscope tool, often fashioned from acrylic or plastic, features multiple mirrors set at angles within a cylindrical or triangular frame. When inserted into soap batter and twisted or rotated, this tool creates intricate swirl patterns by reflecting and blending different layers of coloured soap.
Materials You'll Need:
- Soap base or freshly made soap batter
- Soap colorants or micas in desired hues
- Fragrance or essential oils (optional)
- Soap moulds
- Kaleidoscope tool
Step-by-Step Guide to Creating Swirls:
-
Prepare Soap Batter: Begin by preparing your soap batter according to your preferred recipe. Ensure it reaches a light to medium trace—thick enough to support the swirling technique.
-
Colour and Scent: Divide the soap batter into separate portions if you plan to use different colours. Add soap colorants or micas to each portion and mix thoroughly until you achieve the desired hues. Optionally, add fragrance or essential oils for scent.
-
Pouring the Soap: Start pouring the coloured soap batter into the soap mould in alternating layers. For instance, pour one colour, followed by another, creating a pattern of multiple layers within the mould.
-
Using the Kaleidoscope Tool:
- Insert the kaleidoscope tool vertically into the soap mold, allowing the mirrors to penetrate the soap layers.
- Gently twist or rotate the kaleidoscope tool while it's inside the soap batter. As you rotate the tool, the mirrors will reflect and blend the different coloured soap layers, creating intricate swirl patterns.
-
Remove the Tool and Set: Carefully remove the kaleidoscope tool from the soap mould once you've achieved the desired swirl pattern. Tap the mould gently on a flat surface to level the soap and eliminate air bubbles.
-
Allow to Cure: Set the soap aside in a cool, dry area and allow it to cure according to your soap recipe's guidelines. This curing period typically ranges from several days to a few weeks, depending on the formulation.
-
Unmolding and Enjoying Your Creation: Once cured, unmold the soap, slice it into bars, and admire the captivating swirl patterns you've created using the kaleidoscope tool.
Experimentation and Tips:
- Experiment with different colour combinations, layering techniques, and speeds of rotation to achieve varied and unique swirl patterns.
- Practice with small batches initially to perfect your swirling technique before working on larger soap batches.
- Ensure the soap batter is at the right consistency for optimal swirling without blending the colours too much.
